

Long exposure photos can completely reinvent the most commonplace things shot through your lens. A busy highway becomes a flowing stream of light, ocean waves are dreamlike, and waterfalls can appear like silk rather than roar. It's arguably one of the most creative photography techniques for beginners and professionals alike.
The great part is you don't need a studio packed with pricey equipment. All you need are the correct camera settings, a steady tripod, and a bit of patience to produce dynamic images that feel immediately cinematic.
We will guide you through the entire step-by-step process, as taught by top professionals, for long-exposure photography. Here, you will find out what gear to use, which long-exposure photography settings to consider, how to photograph waterfalls with slow shutter speed, what to shoot at night, what to look out for, and how to avoid rookie mistakes.
Long exposure photography is a technique of keeping the shutter open for longer than a normal snapshot. This is done to capture movement over time. Instead of freezing the movement, it blurs it, creating a smooth motion in the shot.
The technique is generally used for:
Professional long-exposure shots normally involve shutter speeds of 1 to 30 seconds but can last several minutes.
A statistic from the photography industry indicates that long-exposure landscape photos receive almost 40% higher engagement than normal landscape photos. They are cinematic and really stand out.
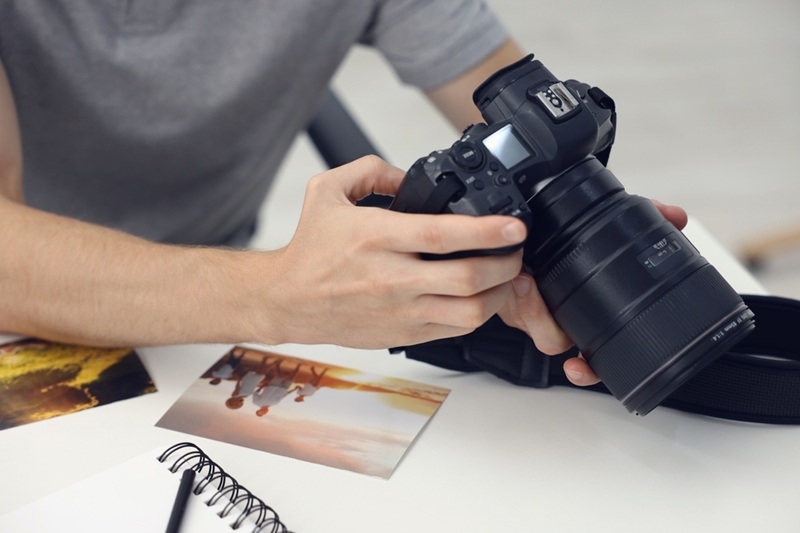
Here is the equipment you need for better results:
Camera with Manual Mode: A DSLR or mirrorless camera is the best choice, as you have complete control over Shutter Speed, Aperture, and ISO.
Sturdy Tripod: It is the most important accessory for long-exposure photography. Even tiny vibrations will result in blurred images. The best tripod for long exposure photography should be heavy enough to withstand outdoor conditions.
ND Filters: These reduce the amount of light reaching your lens, so you can use a slow shutter speed even in bright light without overexposing.
Remote Shutter Release: Prevents vibrations from pressing the button.
Wide-angle lens: Great for capturing city scenes, waterfalls, and landscapes.
Must Try: Social Media Editing Styles That Shape Online Visuals Today
There are certain scenes and places that work better for long-exposure photography. The best scenes always involve some kind of motion. Some common examples include:
If you are a beginner, try starting with a waterfall, as it provides continuous motion and is easy to work with. Shooting after sunset in a city will yield fantastic light trails from moving cars.
For your creative shots, some photographers have fun with long-exposure light painting, using flashlights, sparklers, or LED lights.
The most crucial part of taking a long-exposure photograph is keeping your camera as still as possible. Small movements result in blurred images, which is why professionals invest heavily in their equipment.
Try to avoid fully extending the tripod legs, as they will become wobblier.
If the tripod is unstable, it would be great to weigh it down.
On soft ground or with a soft substrate, it would be best to add tripod spikes.
The biggest difference between a professional and an amateur photograph is usually the sharpness of the latter.
It is always great to learn about the long-exposure photography camera settings that help you achieve the clean images you require. For beginners:
RAW files give you more editing capabilities. Use the manual settings of 2-5 sec for a waterfall and around 10-20 sec for light trails in the city. During the day, an ND filter must be used.
Composition also becomes very important when shooting long exposures, because movement is an integral part of the scene.
Consider using:
When shooting waterfalls, make sure you include trees and stones. The light trails in cityscapes naturally draw the viewer toward the shot's focus. Using editing software such as improveimagegpt.com to sharpen, enhance contrast, and improve detail might help the shot look even better while remaining natural.
Manually clicking the shutter may shake the camera; avoid it when shooting long exposures.
Use a remote shutter release or a 2-second delay timer.
Disable image stabilization when your camera is mounted on a tripod.
Capturing waterfalls with a slow shutter speed is among the most popular landscape photography styles. The idea here is to create a silky effect on the water while keeping the rocks surrounding the scene sharp.
The ideal conditions are:
Ideal camera settings:
Be careful not to set the shutter speed too slow, or you may erase the water's texture.
Nighttime long-exposure shots are among the most beautiful and dynamic types of long exposure. Objects that would be well-suited to nighttime long exposure photography camera settings include the following:
Some long-exposure night long exposure photography tips include shooting during the blue hour (the hour after sunset). It is that moment when the sky is still blue and dark while the city lights are brighter than usual.
A typical setup consists of:
Night cityscape shots taken after rain will look even more magical because of the reflections.
Try This: Lightroom Editing Tips to Transform Your Photos Easily
Professional photographers might even struggle when performing long exposure shots. Here are the common mistakes beginners make:
Wind can seriously ruin the image, blurring not just the subject but also elements of the background.
Long exposure photography is a unique and rewarding photographic medium because it makes ordinary movement appear extraordinary. Regardless of the subject—whether you're shooting silken waterfalls or glowing cityscapes—the technique transforms the scene into a painting.
Here are the essential things to understand. Stability of the tripod, camera settings, composition, and finally, patience. When you master the role of shutter speed in movement, your imagination will grow limitless. Beginners should start with simple waterfall scenes before venturing into advanced night photography or light painting.
Image editing is another part of this technique, and slight adjustments to contrast and sharpening will boost your photos without making them look over-edited. Eventually, the technical details of long exposure photography give way to creative storytelling.
Yes, many newer smartphones allow for manual camera controls and long exposure modes. While stabilization is always critical, there are apps available that simulate long exposure by using computational photography.
As a beginner, I would recommend a 6-stop or 10-stop ND filter. I would use the 6-stop for overcast days and the 10-stop for bright sunlight when you want to try a dramatic long exposure.
Yes, it is. I find it very beneficial for beginners to master the concepts of composition, light, and camera control all in one go. Learning the concepts of how shutter speed can impact a photo can be rapid through the exercise of photographing waterfalls or city traffic lights in long exposure.
This content was created by AI